You’ve picked the perfect fence style. Or maybe you’ve been dreaming about finally having a patio that doesn’t feel like a trip hazard. Either way, you’re ready to make it happen — but now you’re stuck on one annoying question:
“What do I need to do to get my yard ready before the crew shows up?”
If that’s you, you’re not alone.
Most homeowners assume the fence or patio installer handles everything — until they realize they forgot to clear the area, didn’t check their property line, or accidentally left a sprinkler pipe right in the middle of where the patio is going.
At Navigator Stone & Fence, we’ve installed hundreds of fences and patios, and trust us — the smoother the prep, the smoother the install. We’ve seen the stress, the confusion, and the delays… and we want to help you avoid all of it.
In this guide, you’ll learn exactly how to prepare your yard — step by step — so your fence or patio project can start on time, stay on track, and finish without any nasty surprises.
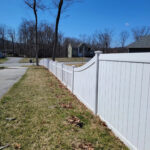
1. Check Your Property Lines
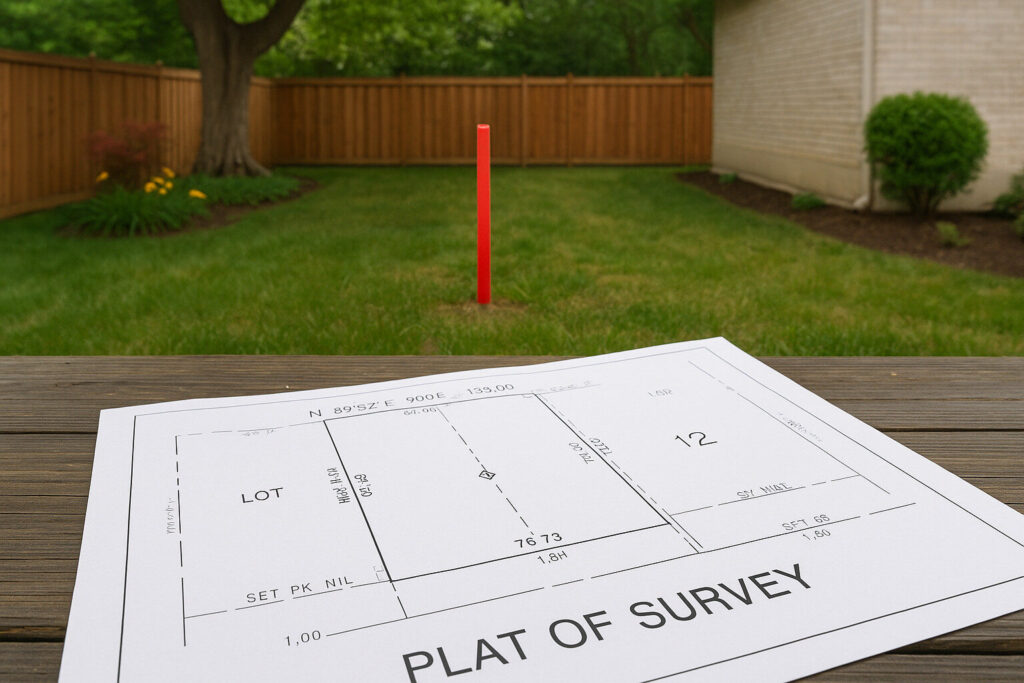
Before you dig, measure, or even sketch out ideas on the back of a napkin — make sure you know exactly where your property begins and ends.
Why it matters
Building even a few inches onto your neighbor’s property (yes, even by accident) can cause legal disputes, extra costs, or having to tear down and redo parts of the project. It’s also a common reason for project delays, especially with fences.
How to confirm your property lines
- Check your plat or deed – This is the legal document that outlines your land boundaries. You might find it in your home purchase paperwork or request it from your local county office.
- Hire a surveyor – If you’re unsure or boundaries are disputed, it’s worth bringing in a pro. It costs a bit upfront, but it can save you thousands in the long run.
- Don’t rely on your old fence or a hedge – These are often installed inaccurately and not reliable indicators of property lines.
Pro tip: If you’re replacing an old fence, don’t assume it was built in the right spot. It’s surprisingly common for older fences to be a little “off” from the true line.
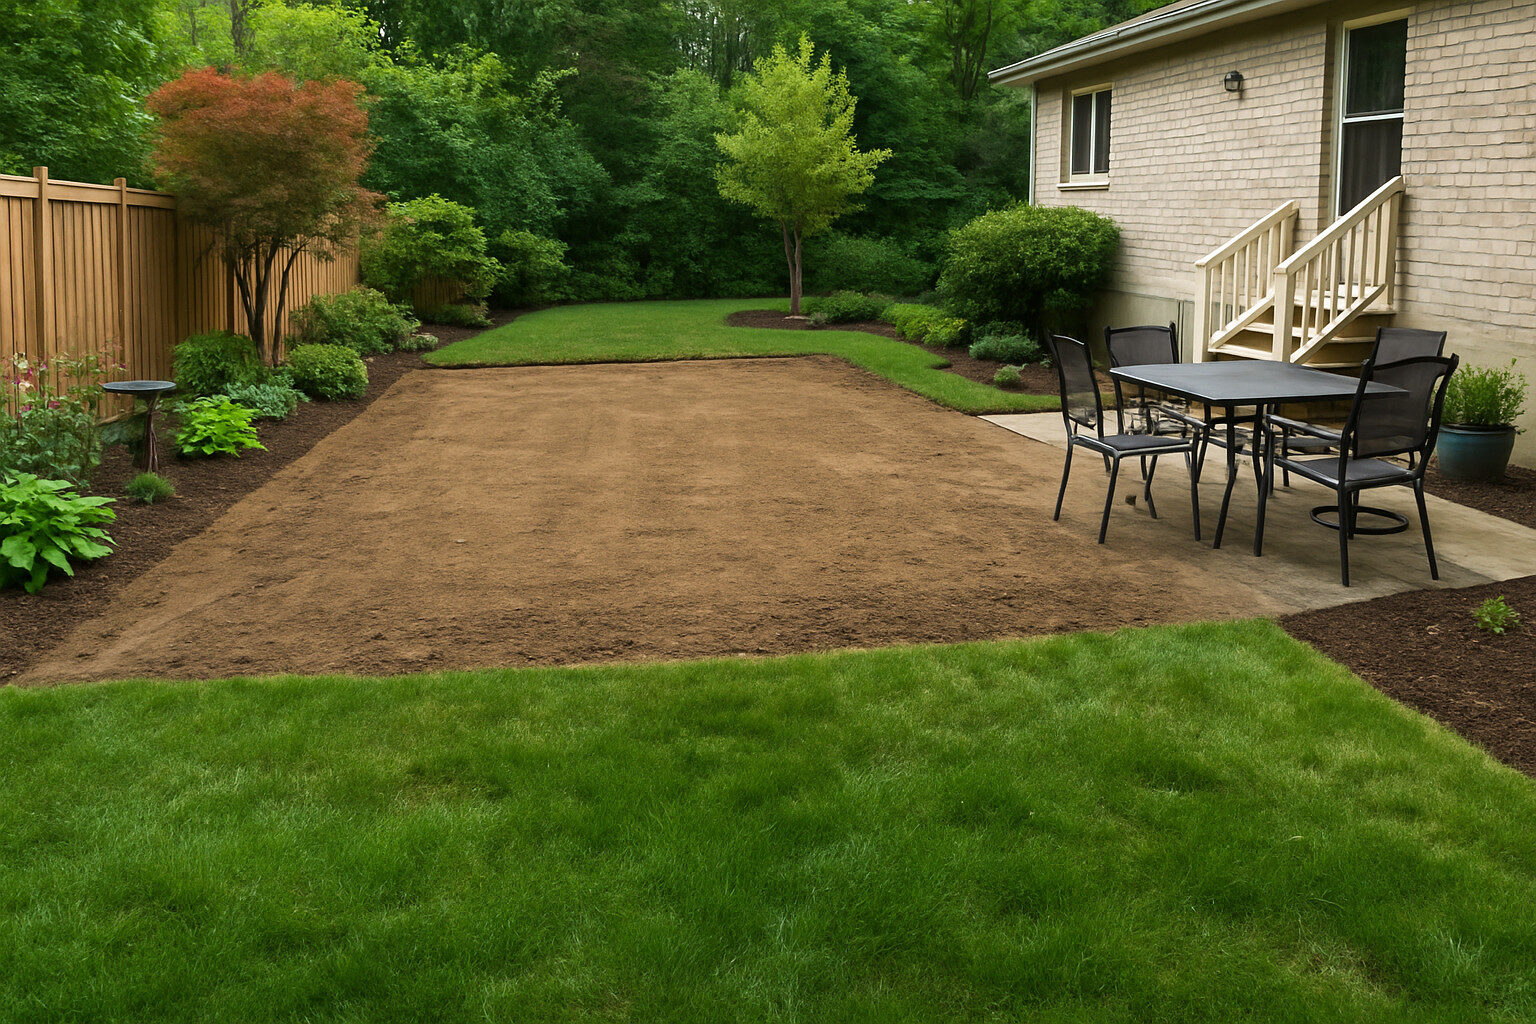
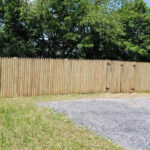
2. Clear the Area
Think of your yard like a construction site: the clearer it is, the faster and safer the work gets done.
What does “cleared” actually mean?
Whether you’re getting a new fence or patio, you’ll want to remove anything that could get in the way of the installation crew. That includes:
- Patio furniture, planters, toys, fire pits, grills
- Garden décor, solar lights, bird baths
- Overgrown bushes or branches hanging into the workspace
- Old fencing, posts, or paving if that’s not part of your contractor’s removal
If you’re unsure what stays and what goes, it’s always worth asking your installer — but more clearance is always better.
What about plants and landscaping?
This is where things get tricky. If you’ve got flower beds or shrubs near where the patio or fence is going, it’s best to transplant or protect them in advance. Installers can’t guarantee plants will survive nearby digging or construction.
Why this step matters
Clearing the area not only helps your contractor start right on time — it also prevents accidental damage, reduces labor time (and cost), and helps the job move much faster.
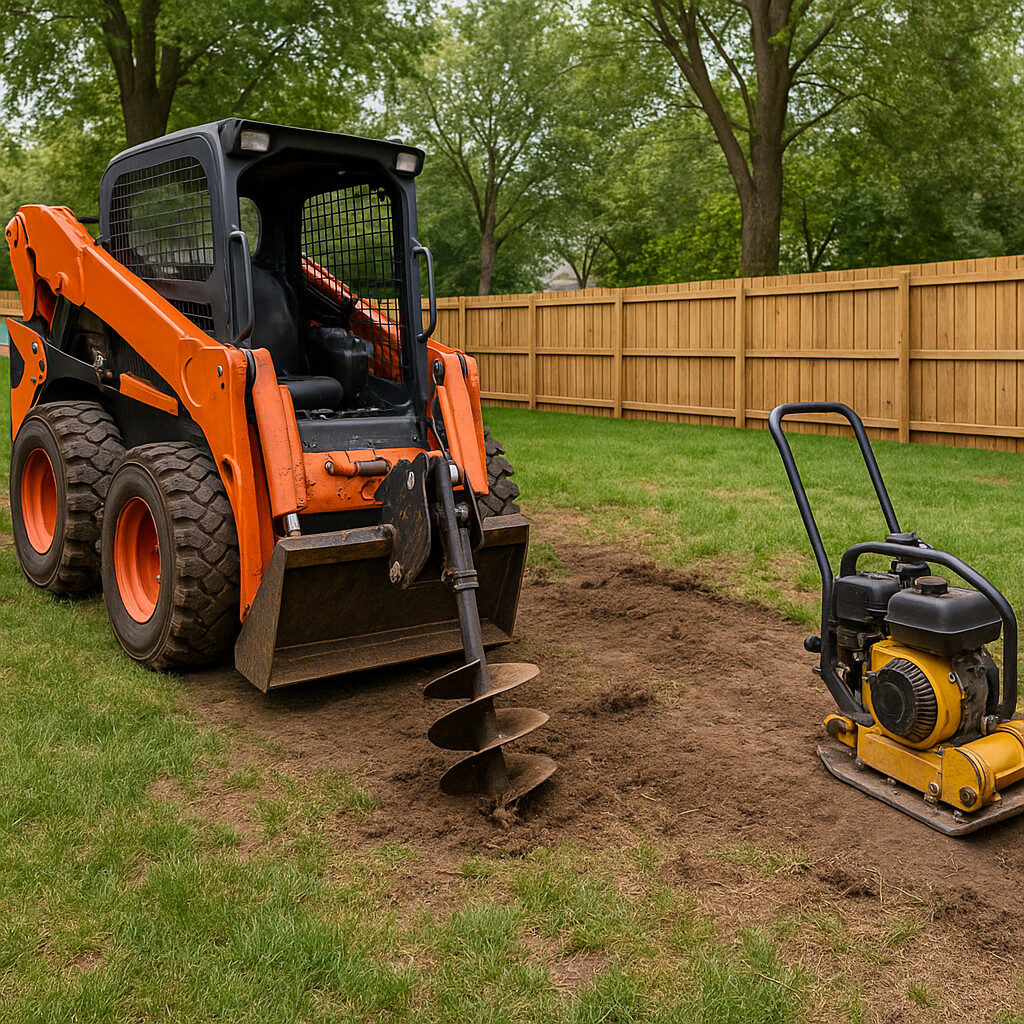
3. Think About Access for Equipment
You might have a perfectly prepped yard — but if the crew can’t get their tools and materials in easily, you’re asking for delays.
Ask yourself:
- Can the team get from the street to the worksite without obstruction?
(Think narrow gates, tight side paths, or steep slopes.) - Are there obstacles like AC units, garden beds, or tree stumps in the way?
- Will a concrete mixer, wheelbarrow, or post hole digger fit through your gate?
Even for smaller jobs, your installer may need to bring in heavy tools or machinery. If there’s no clear access, they might need to lift materials over fences, take down panels, or worse — delay the job until access is resolved.
How to make access easier
- Unlock all gates and clear the paths on install day.
- Let the crew know if there’s a pet in the yard or anything delicate to avoid.
- Temporarily remove fence panels or widen access points if needed (ask your contractor if you’re unsure).
Why it matters
Limited access means more time, more manual labor, and possibly even extra charges. Solving this ahead of time avoids surprise costs and keeps everything running smoothly.
4. Mark and Protect Utilities
Few things will derail your project faster than hitting a utility line. Whether it’s a gas pipe, sprinkler system, or underground cable, if it’s buried, it needs to be located before work begins.
What needs to be marked?
- Water lines and irrigation systems (including sprinkler heads and drip lines)
- Gas lines
- Electrical wiring (including landscape lighting or power to sheds)
- Drainage pipes or septic systems
- Internet or TV cables
How to mark them properly:
- Call before you dig – In the U.S., dial 811 or visit 811beforeyoudig.com for a free marking service.
- Irrigation systems won’t be marked by default – You’ll need to either map those yourself or bring in your landscaping company to flag them.
- Use spray paint or flags – Mark known lines clearly, especially where digging will happen.
Why this matters:
Hitting a gas or water line can be dangerous — and extremely expensive. But even something as small as cutting through a garden light wire or sprinkler tube can lead to frustrating delays and unexpected repair costs.
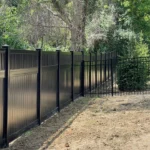
5. Talk to Your Neighbors (for Fences)

It might feel awkward — but letting your neighbors know you’re installing a fence can save you from disputes, complaints, or even legal trouble later on.
Why it’s worth the conversation:
- Property lines can be unclear — and your neighbor might assume the current fence is accurate (even if it’s not).
- They may need access to their side of the fence or want to coordinate repairs or replacements on shared boundaries.
- Noise and mess from installation can be annoying if they weren’t warned.
How to approach it:
- Keep it simple and friendly:
“Just wanted to give you a heads-up — we’re putting in a new fence next week along the back boundary. Let me know if you’ve got any questions.” - If it’s a shared fence, ask:
“Would you be interested in splitting the cost or choosing the style together?” - Let them know about access:
If installers might need to step onto their side for any reason, get permission first.
Why this matters:
Good fences make good neighbors — but only if they know what’s going on. A quick conversation now can avoid complaints, delays, and awkwardness after the fact.
6. Drainage & Grading Considerations
A beautiful patio that turns into a puddle every time it rains? Not ideal.
Before installation starts, it’s worth checking whether your yard’s drainage and slope (grading) will actually work with the new patio or fence.
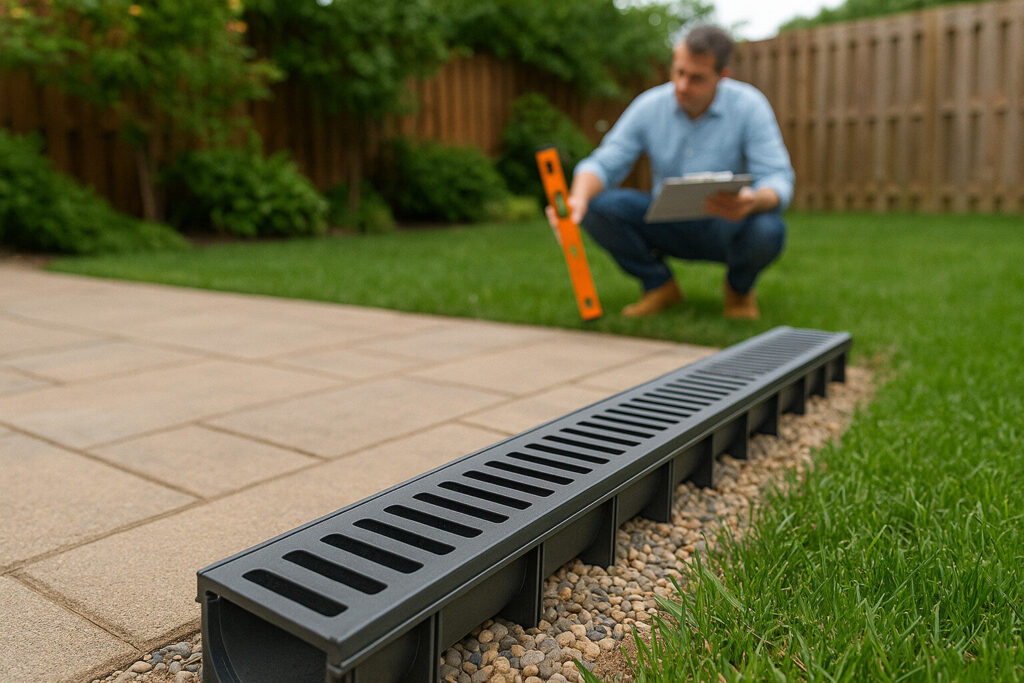
Why this matters:
- Poor drainage can cause pooling, damage to paving, or water seeping into your home’s foundation.
- Fences installed on uneven ground can lean, warp, or leave gaps under panels.
- It’s easier and cheaper to sort out grading issues before the install begins.
What to check:
- Does water already collect where the patio or fence is going?
- Is the ground level enough for paving, or will it need leveling?
- Is water flowing away from your home, not toward it?
What to do:
- Talk to your installer – A reputable contractor (like Navigator Stone & Fence) will assess drainage before building, but it helps if you raise any concerns early.
- Fix grading issues first – This might involve adding topsoil, creating a slight slope, or installing a drainage solution like a French drain or channel drain.
Norm’s Notes:
If you’re replacing an old patio that cracked or lifted, bad drainage was likely the cause. Fix it now and you won’t have to do it all over again in a few years.
7. Permits and HOA Rules
Before you start digging or laying pavers, take a minute to check whether you’re actually allowed to. Permits and homeowner association (HOA) rules can make or break your timeline if you skip this step.
Do you need a permit?
It depends on where you live — but in general:
- Fences over a certain height (often 6 feet) usually require a permit.
- Patios might need approval if they affect drainage, involve electrical work (like lighting), or are attached to your home.
- Historical neighborhoods often have extra restrictions.
Check with your local building department or city office — or ask your contractor. At Navigator Stone & Fence, we can usually guide you through this.
If you’re part of an HOA…
HOAs often have rules about:
- Fence height, color, and material
- Patio size or style
- Setback distances from your property line
- Getting approval before any changes
Skipping HOA approval can result in fines or being forced to remove your new build — which is not a fun conversation.
8. Confirm Final Details with Your Installer
Once your yard is clear, utilities are marked, and approvals are sorted, there’s just one thing left: double-checking the final details with your installer.
What to go over before installation day:
- Start date and time – When will the crew arrive? Will you need to be home?
- Scope of work – Confirm the layout, materials, height (for fences), and any add-ons like gates or lighting.
- What you’re responsible for – Who’s handling site prep, old fence or patio removal, or waste disposal?
- Any last-minute concerns – Let them know about pets, locked gates, or anything that might slow things down.
Why this step matters:
Clear communication means no surprises. You’ll know what to expect, and your contractor can do their job without delays or confusion.
Ready to Get Started?
A bit of prep goes a long way. By following these steps, you’ll save time, avoid costly mistakes, and make sure your new fence or patio turns out exactly the way you want it.
Still have questions or want help assessing your yard?
Get in touch with Navigator Stone & Fence today — we’ll walk your property with you, spot any issues early, and make sure your project gets off to a smooth start.
Get in touch today for a free consultation by requesting an estimate—or check out our gallery of past projects for some inspiration.


Leave a Reply